Here is how I made a mobile for our granddaughter.
How it came to be
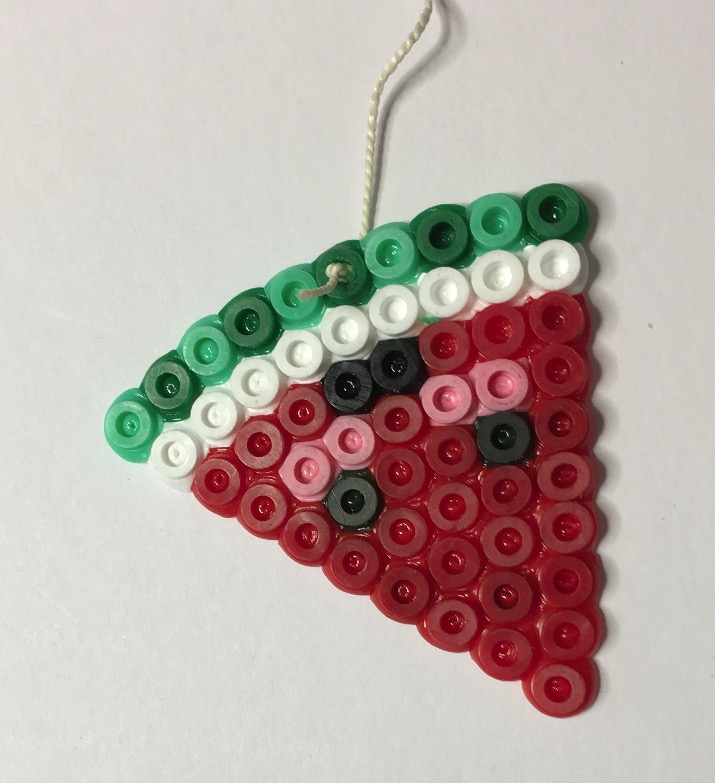
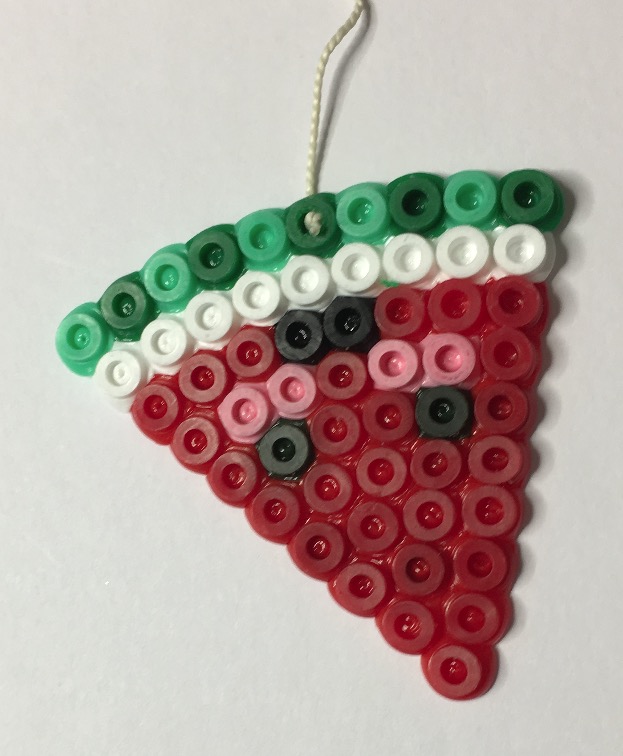
Using fusable pearls our granddaughter (almost 8 at the time) had made a fair number of representations of fruits. This is a slice of a watermelon:
a slice of watermelon
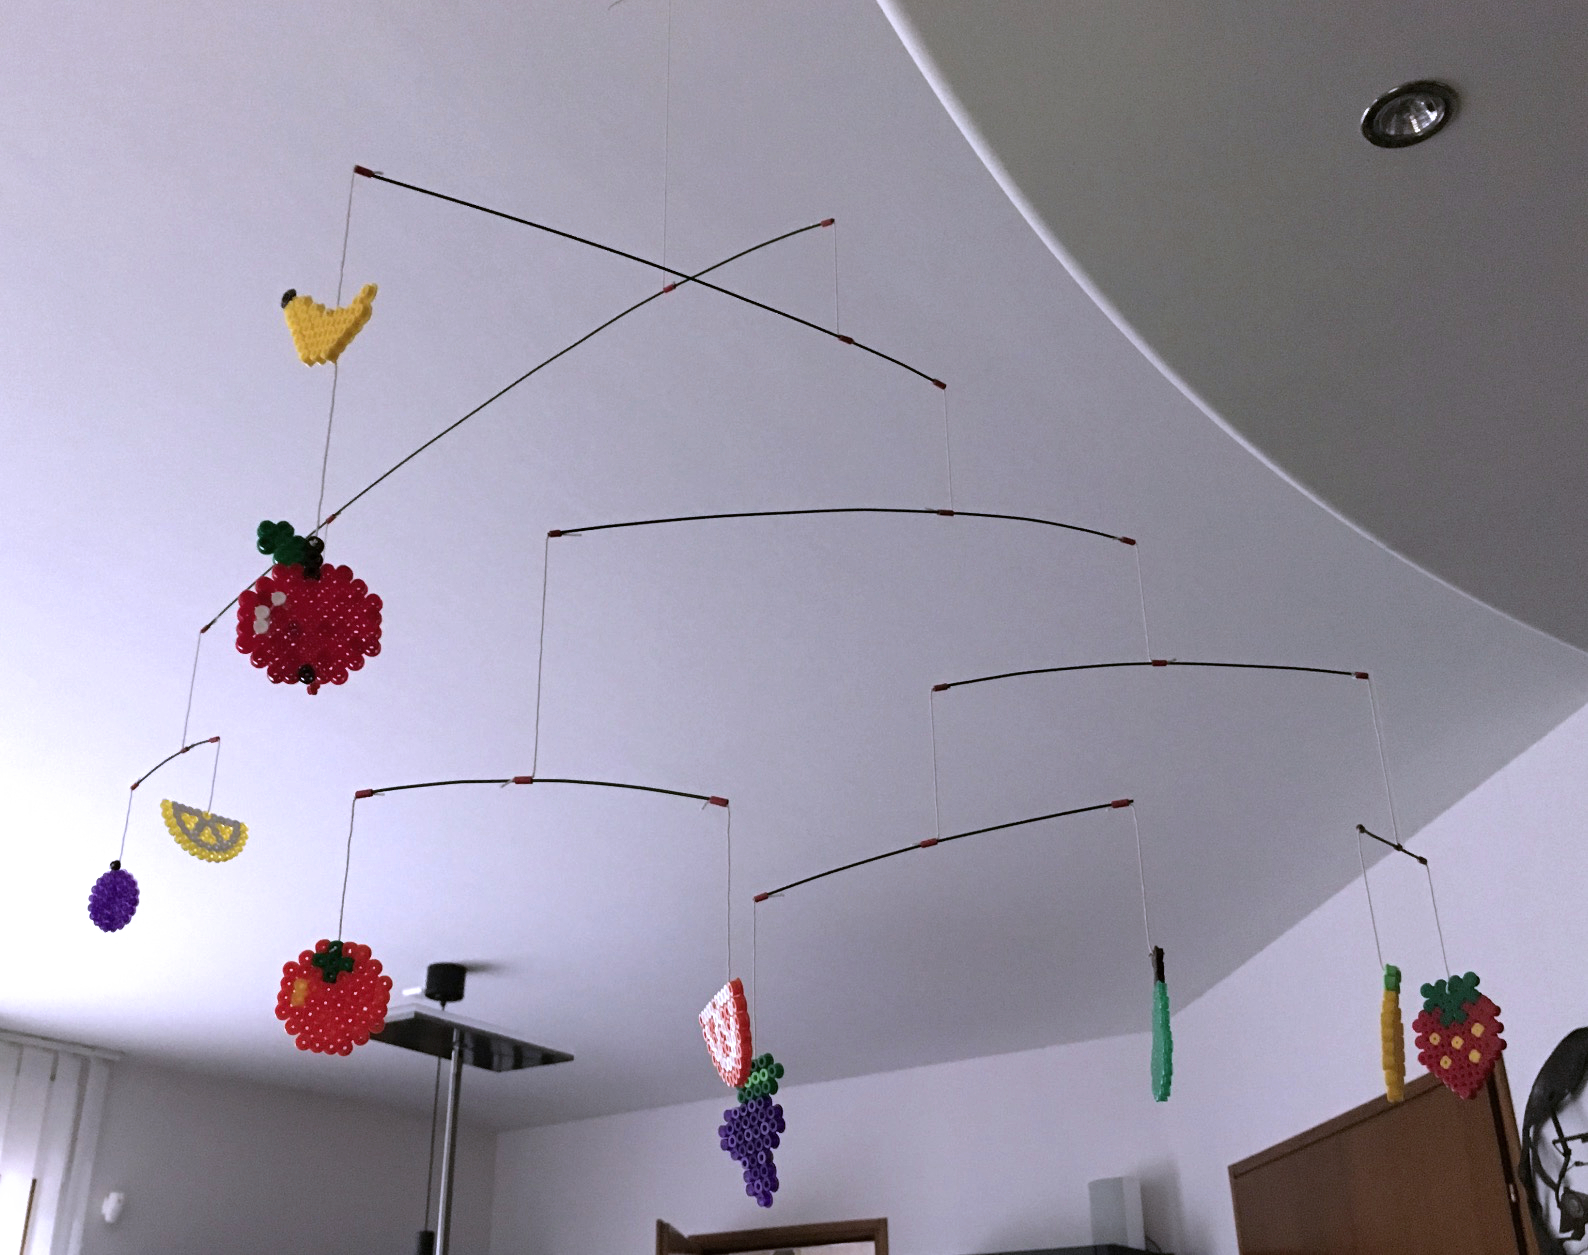
There was a banana, an apple, pear, slice of lemon and many others. To display them all, we decided to hang them up somewhere, and a mobile was a good idea:
the result
The problem obviously was: how to make the mobile?
A mobile is a set of horizontal arms, suspended from each other, with some objects suspended from some of the ends. The arms balance the weights hanging from their ends, therefore the point where they are suspended is not necessarily in their centre. In the image above, the plum and lemon slice hang from one end of the first arm, and all the rest hangs from the other end: the first arm is suspended at a point quite far towards that end. It is important that you can adjust the places where the arms are suspended from each other so that everything can be nicely balanced. This was the most difficult problem to solve, and the reason for publishing this.
Materials
We need some sticks for the horizontal arms, some string and a way to hold everything together.
Wooden sticks can be used for arms, but they are not easy to find and often too thick to look nice. I hit upon florist's wire, which is stiff and springy but quite bendable too. It is used by florists to hold up stems of flowers that may otherwise bend or break.
florist's wire
I found them in the arts-and-crafts section of a DIY store. They can be easily cut to various desired lengths with pliers. Warning: the ends of the florist's wires can be sharp, especially after they have been cut. Be careful with the operations described below. Use a file to blunt the ends if necessary.
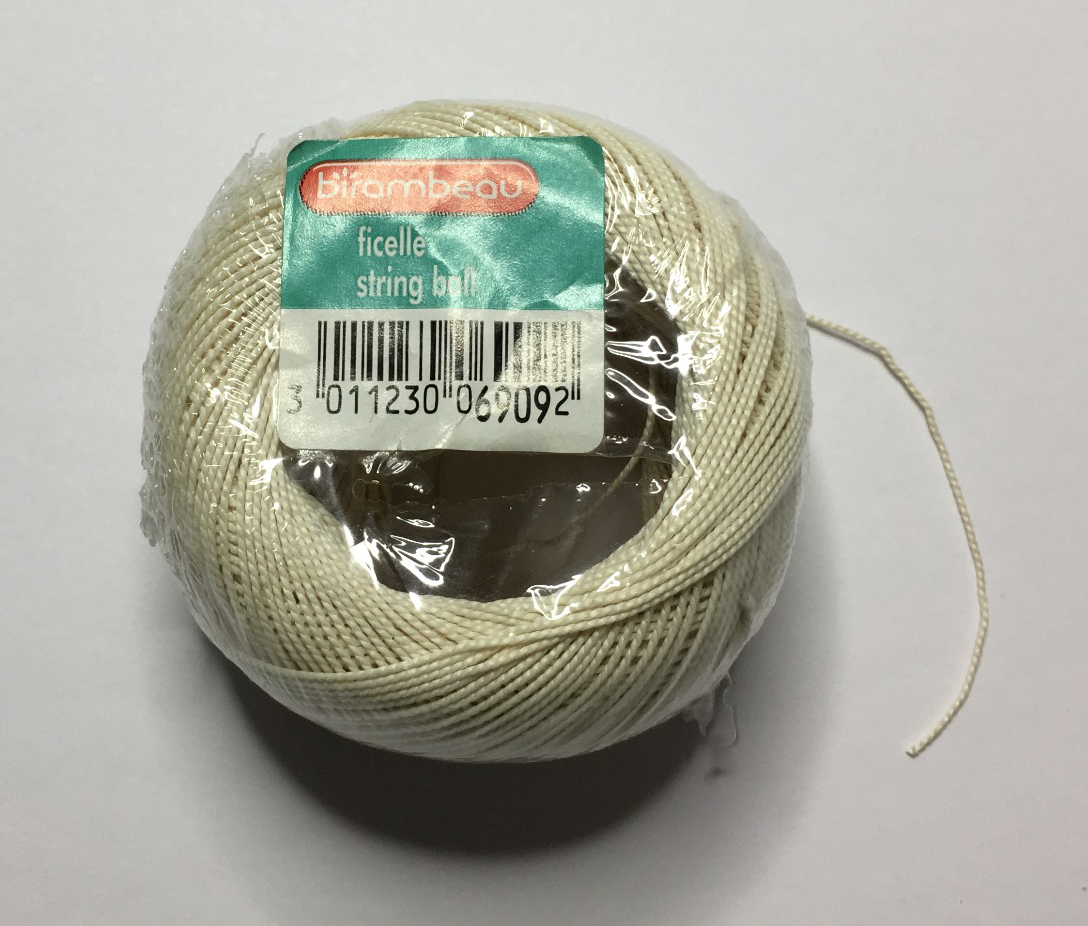
You also need some fairly fine, nice string:
string
But how to fix the vertically hanging string to the horizontal wires? Tying the string to the wires is not easy and adjusting the points of suspension difficult. In addition, it's not reliable because the string slips on the wire. Using sticky tape is a mess, and the tape also does not last very long, becomes undone and looks bad.
I needed some small thing that would clamp the string and the wire: some sort of sleeve.
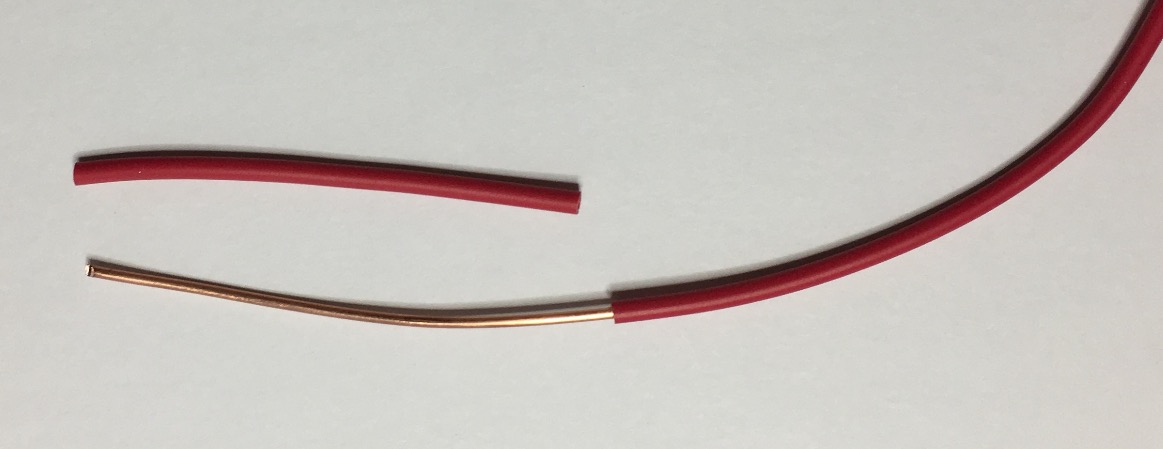
That made me think of electric wire. Find a piece of electric wire that has a copper core that is slightly thicker than the metal florist's wire, and strip a fair part of it:
electric wire
Cut the sleeve up into small bits (about 5mm is plenty long enough). The colour is not important mechanically but it may be aesthetically. ;-)
bits of sleeve
Note that these bits of plastic will last long: electric wire insulation is meant to last.
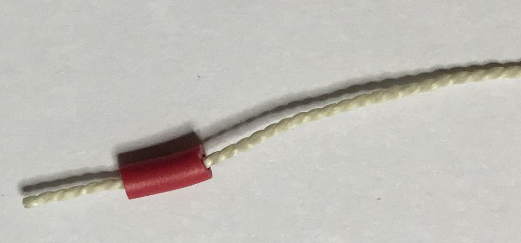
Make sure that the bits slide over the wire with not too much friction, because we'll put the string through them as well.
My florist's wire is coated with green paint and has an outer diameter of 1mm, the copper core of the electric wire is 1.4mm in diameter and, with the string also through the bit of sleeve, the fit is quite tight. It's a good idea to experiment with this before doing all the rest, so try this:
Cut a piece of string and slide a bit of the electric wire sleeve onto the end:
sleeve bit
Now slide the wire also through the same bit of sleeve. This is where it is important that the diameter of the electric wire corresponds to that of the florist's wire in such a way that it is not too tight when the string is also in it.
At times I had to use pliers to hold the wire while sliding the sleeve to the desired position for a balanced suspension. Slide away from the pliers or point where you hold the wire. The friction should of course be enough to prevent accidental sliding.
suspension in centre of arm
When you are convinced that you have the right combination of sleeve, string and wire, the rest is fairly easy.
Fixing the Arms
As shown above, put pieces of string through bits of sleeve, slide them over the arms roughly to their centre. Fit the other end of each string to an end of an arm that will come above it. It's a matter of imagination as to how the arms are distributed: some experimentation will probably be in order.
Hanging the fruit
Next is to hang the fruit (or whatever objects you want to use) from pieces of string. This may need some experimenting, because the lengths of string depend on the choice of object, how much room you have and what your aesthetic feelings are.
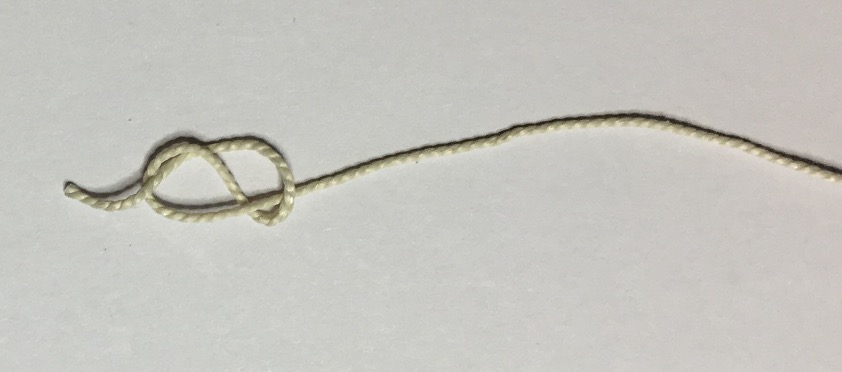
Given that the "fruit" was made from pearls, we tied an 8-knot at the end of each piece of string:
eight-knot
This knot is easy to make, does not come undone, and was thick enough not to slide through a hole in a pearl.
We stuck the strings through a fruit pearl from the front:
fix
then cut off the bit still sticking out to get a pleasing fix:
fix
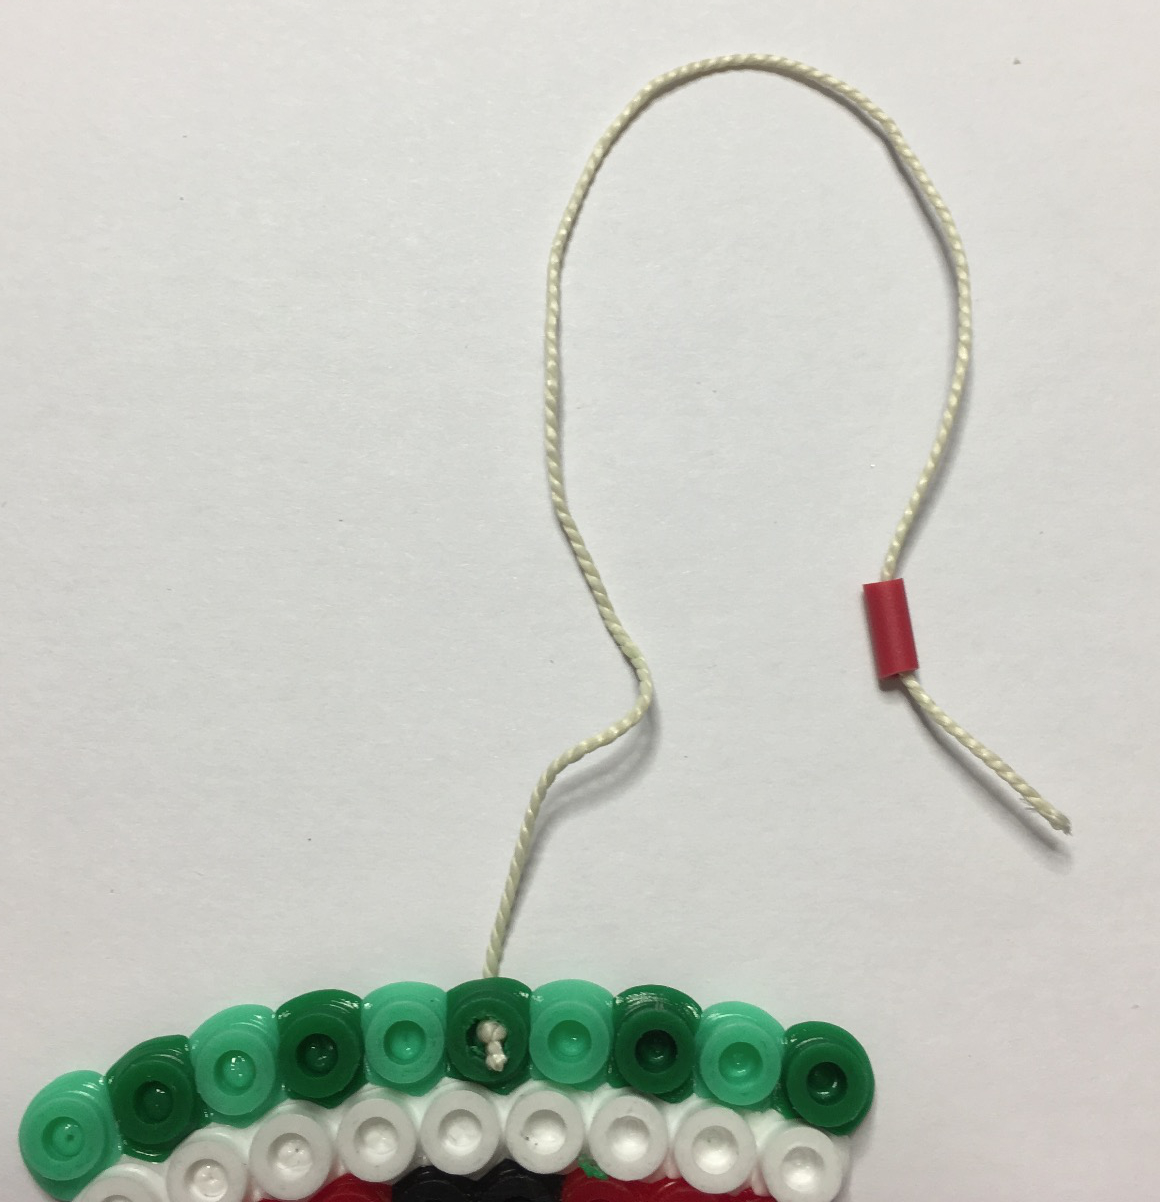
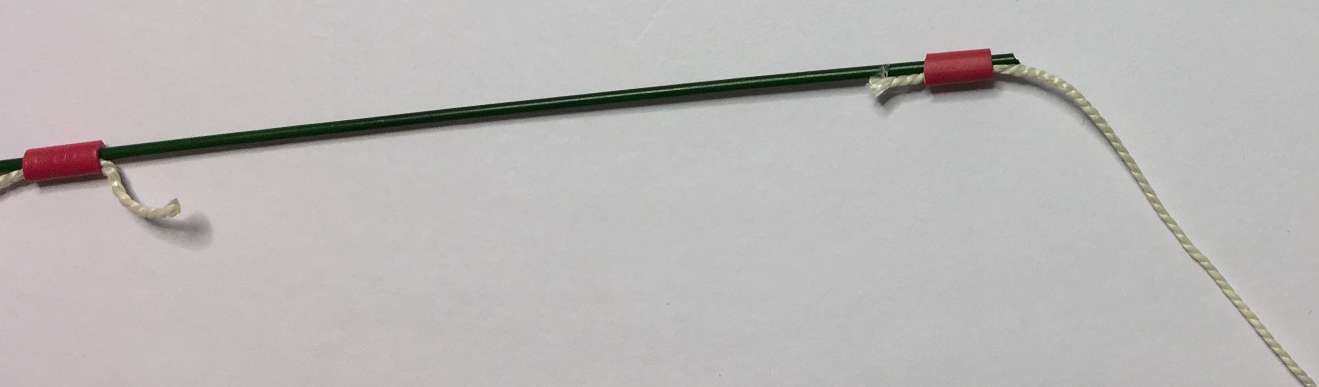
Slide a bit of sleeve onto the end of the string of each of the fruits:
fix fruit
and slide those onto the ends of the wires:
end of arms
Of course some of the arms will have other arms hanging from their ends, some will have a fruit at each end, and some a fruit and another arm, as said this is up to your imagination.